Intro
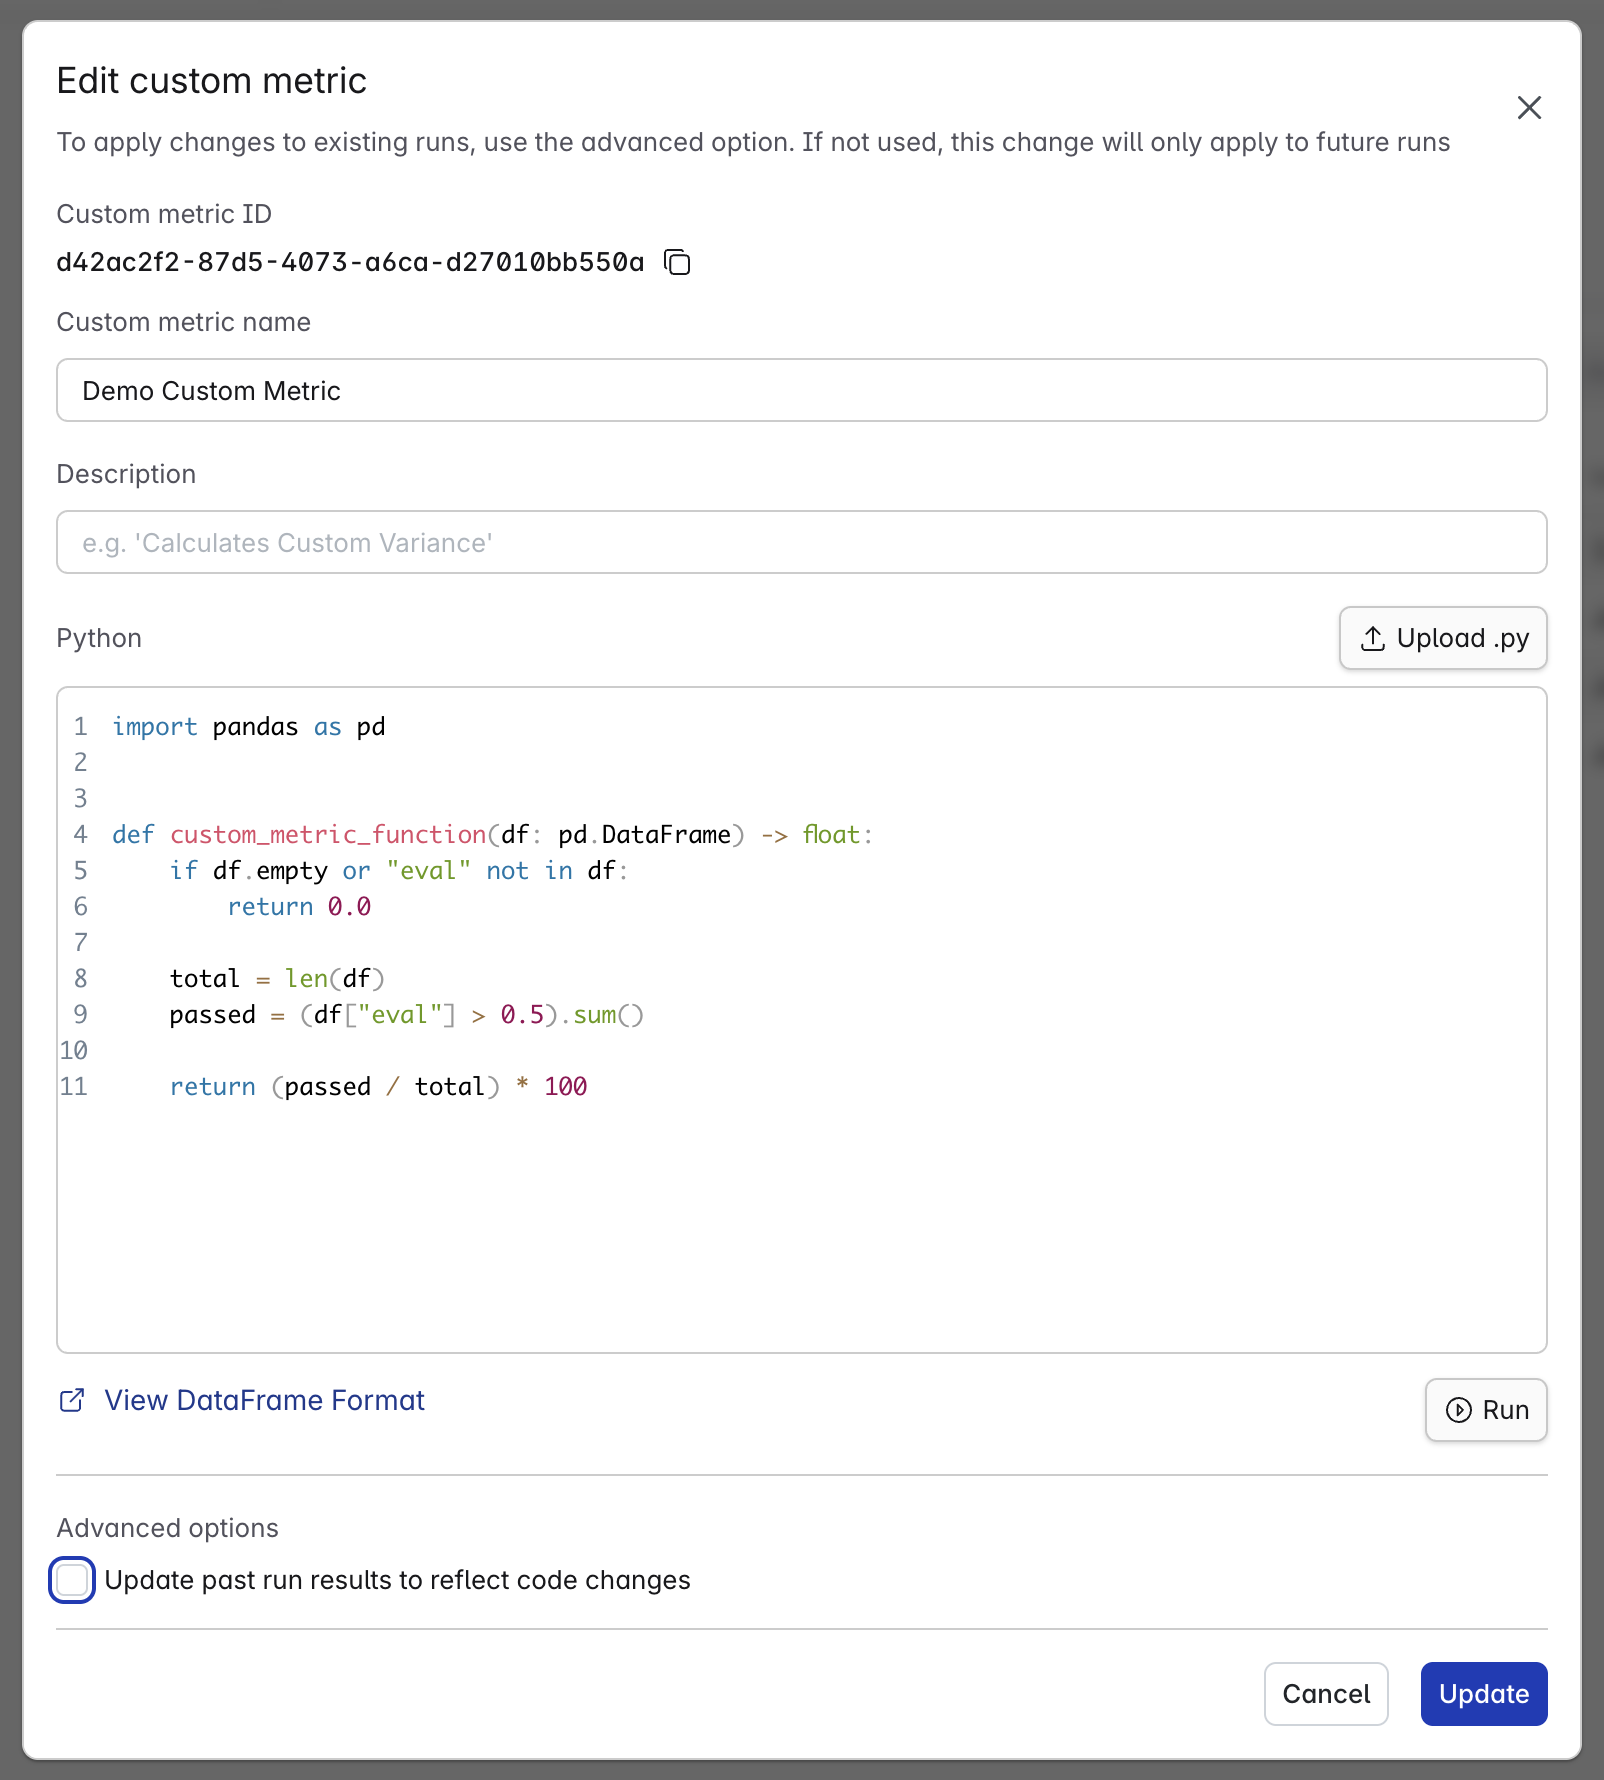
Custom Metrics allow you to define your own metrics for your runs. This is done by defining a function that takes in the output of a test, and returns a pass rate. A basic example that calculates the pass rate if the evaluation is greater than 0.5:Managing Custom Metrics
Custom Metrics can be managed from the Settings page, which you can access by clicking your username in the top right corner.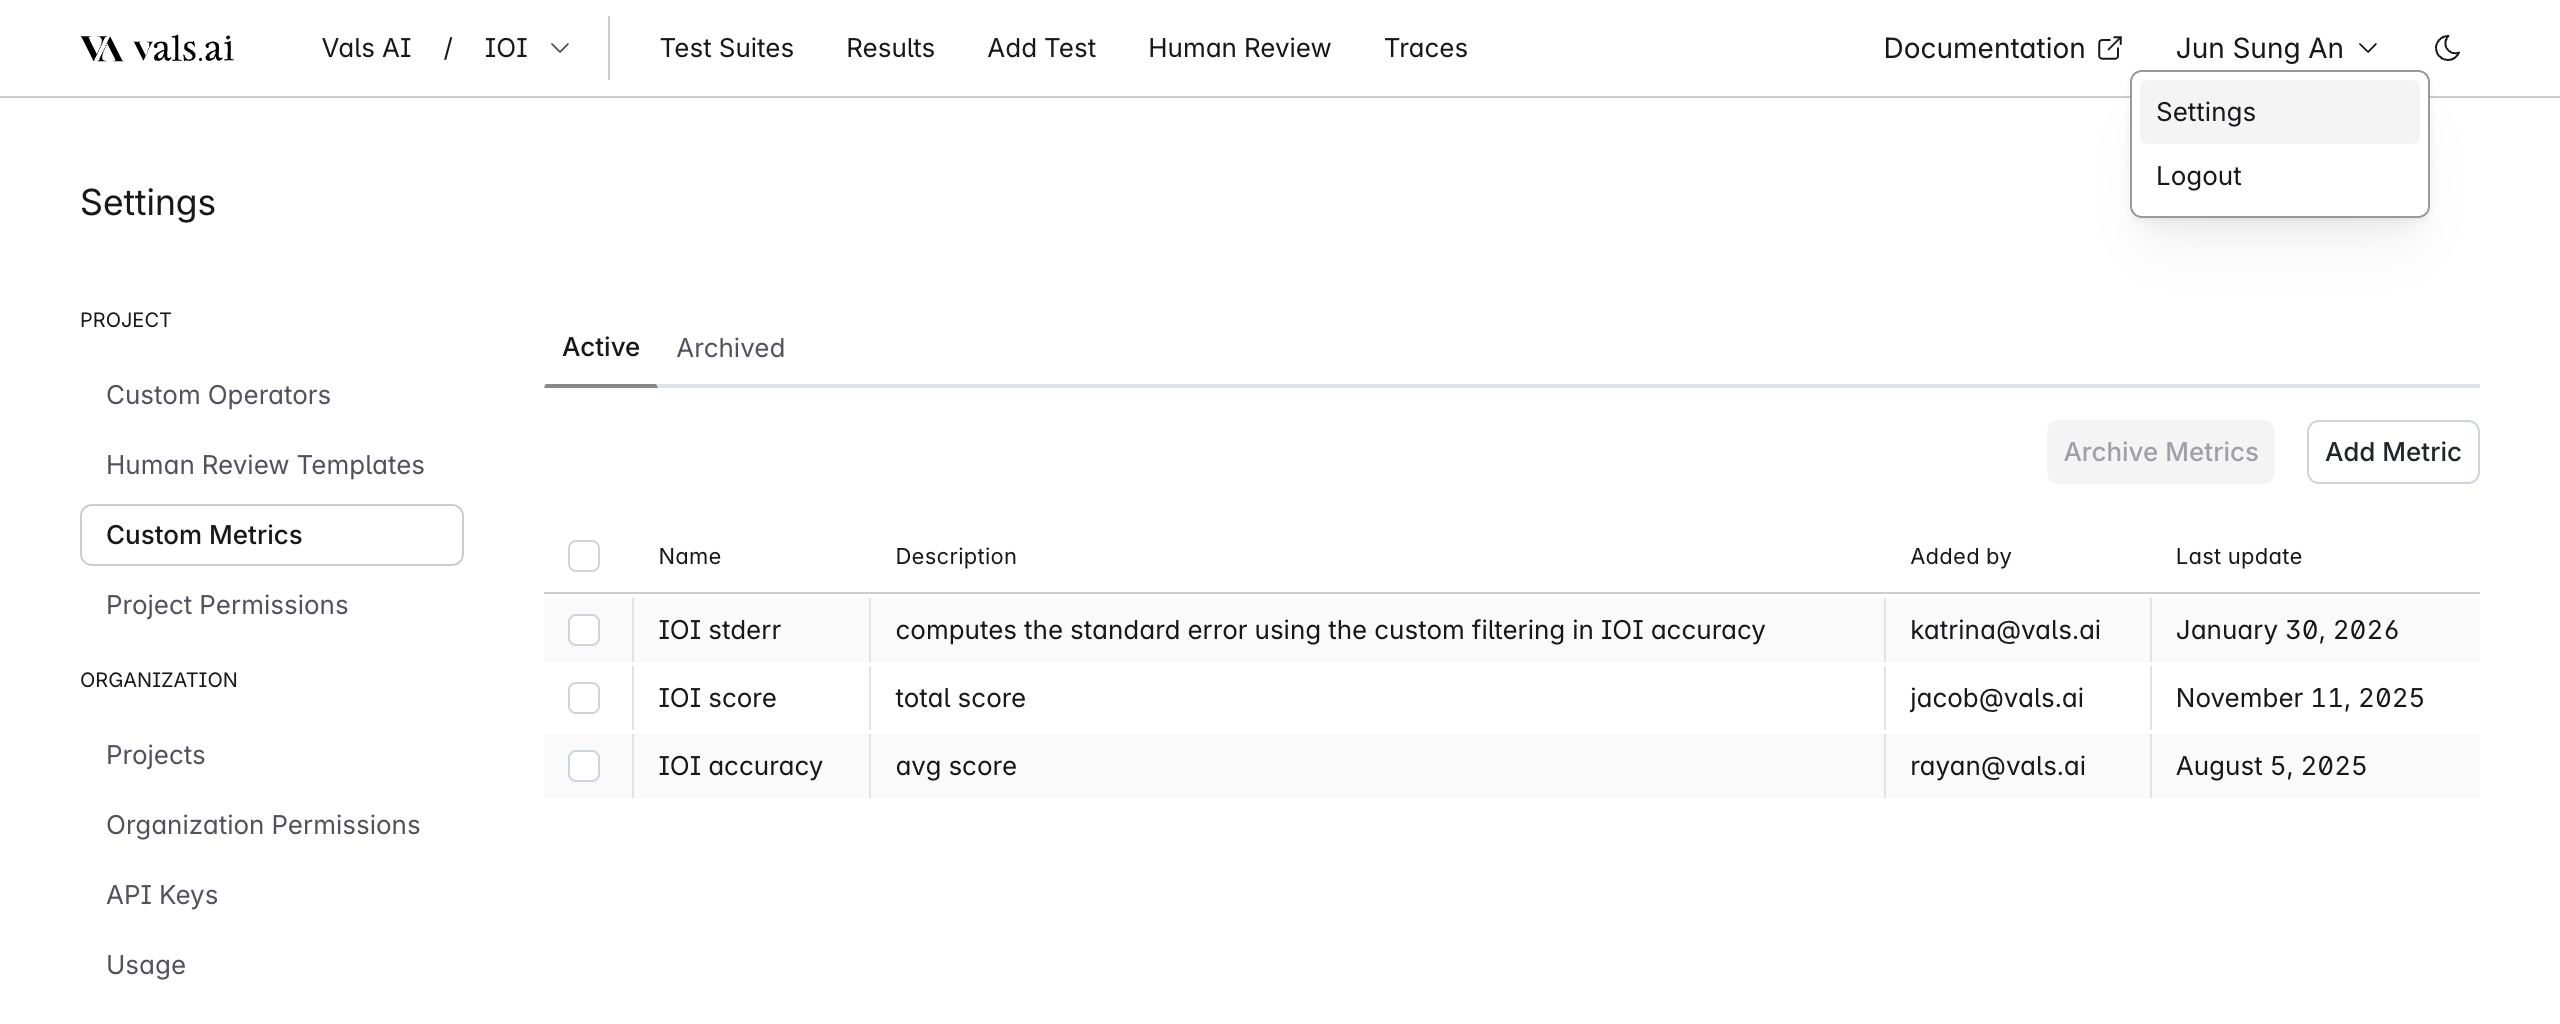
Creating Custom Metrics
Each custom metric is defined by a name and a python function, with an optional description.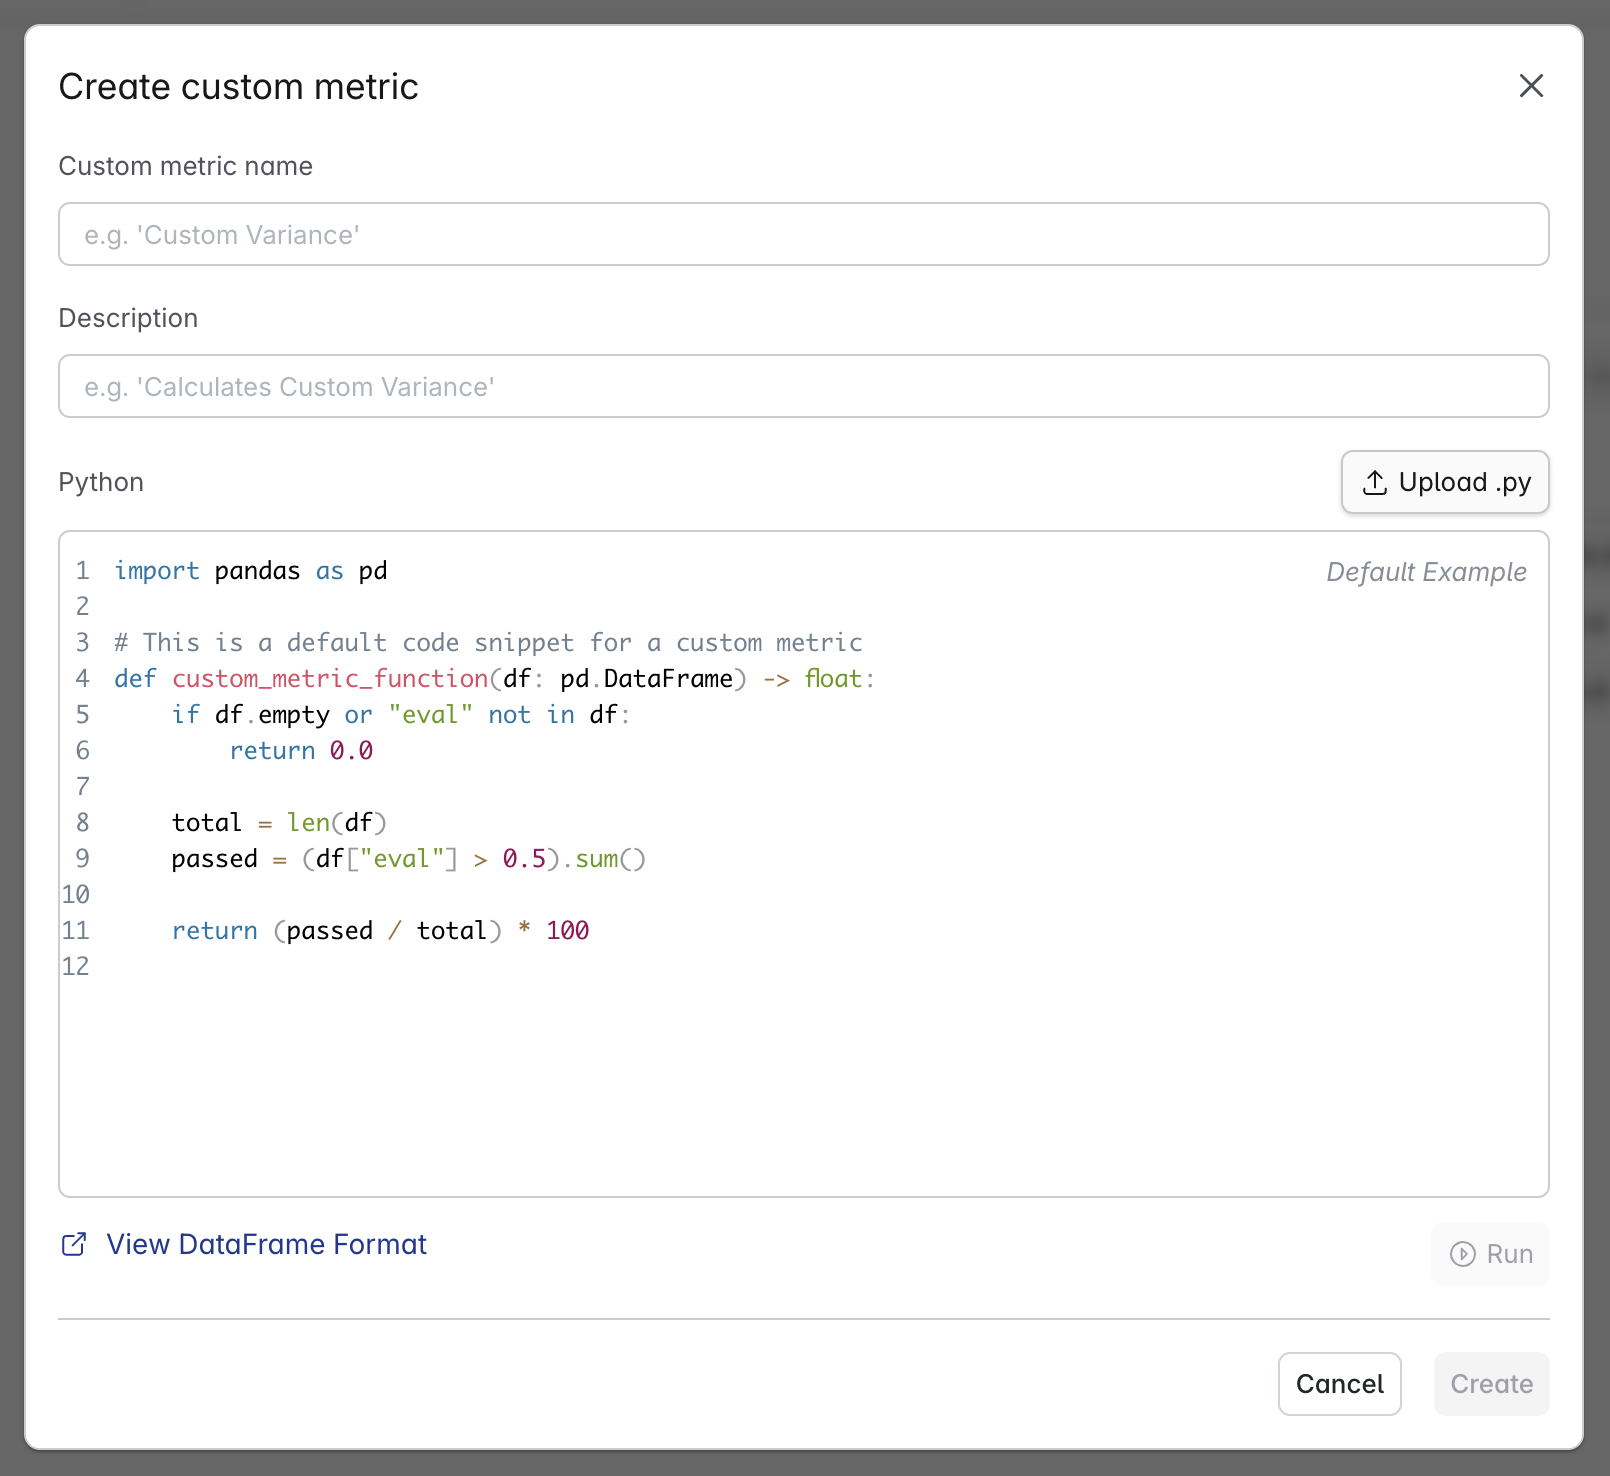
Format
The function used for the custom metric must match the following signature:custom_metric_function.
The function takes in a pandas DataFrame, and returns a float representing the pass rate.
You have access to all fields in the DataFrame, the format is as follows:
NOTE: Each row in the DataFrame represents a Check Result
Example:
Testing Custom Metrics
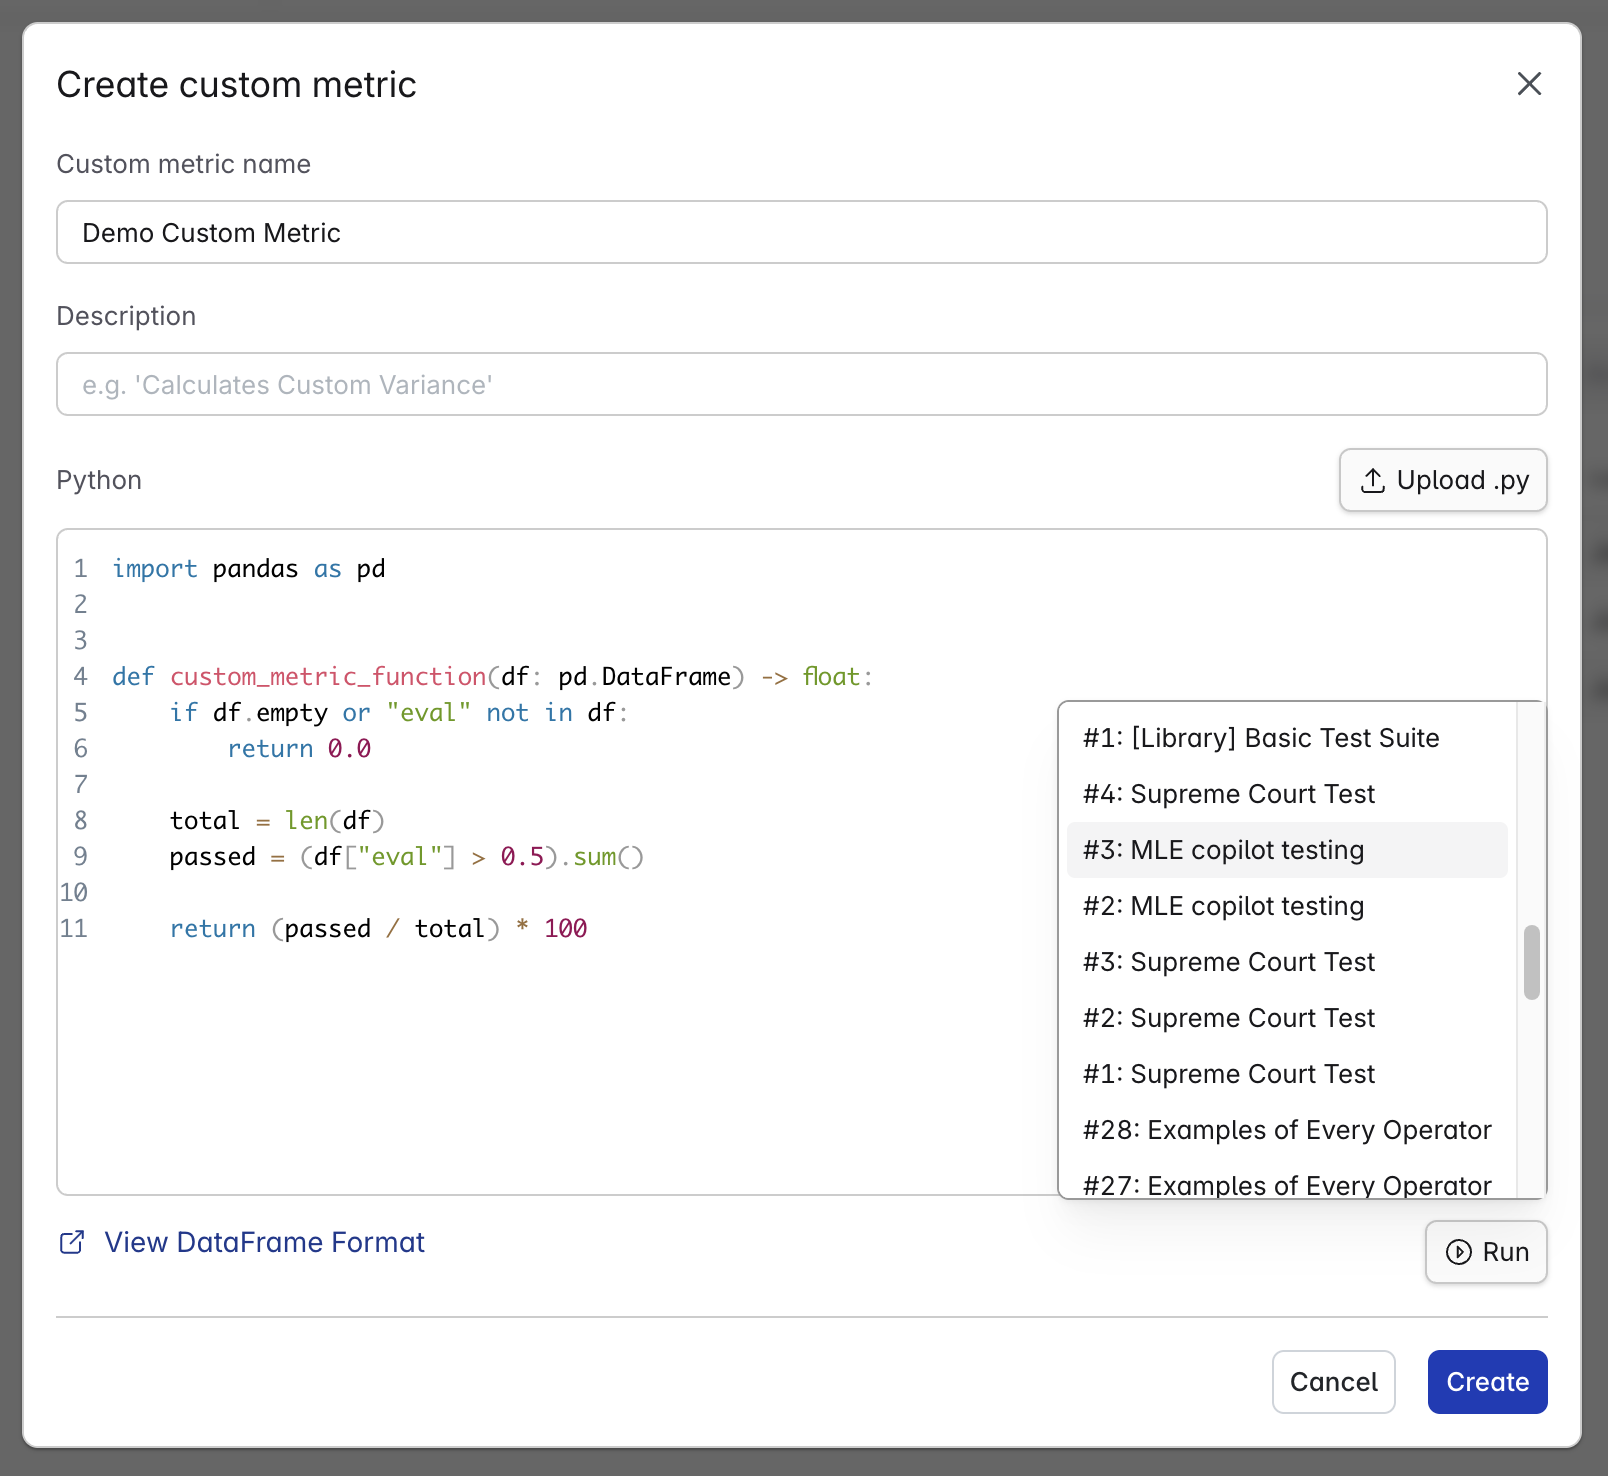
Before creating or updating your custom metric, you should test it on a successful run result. You can do this by clickingRun button located right below the code area, then selecting a run result.
This will run your custom metric as if it were being used in an actual run, and output the pass rate as well as any errors.
Using Custom Metrics
To use your custom metric, simply select it inside your test suite. Any subsequent runs will use all custom metrics selected.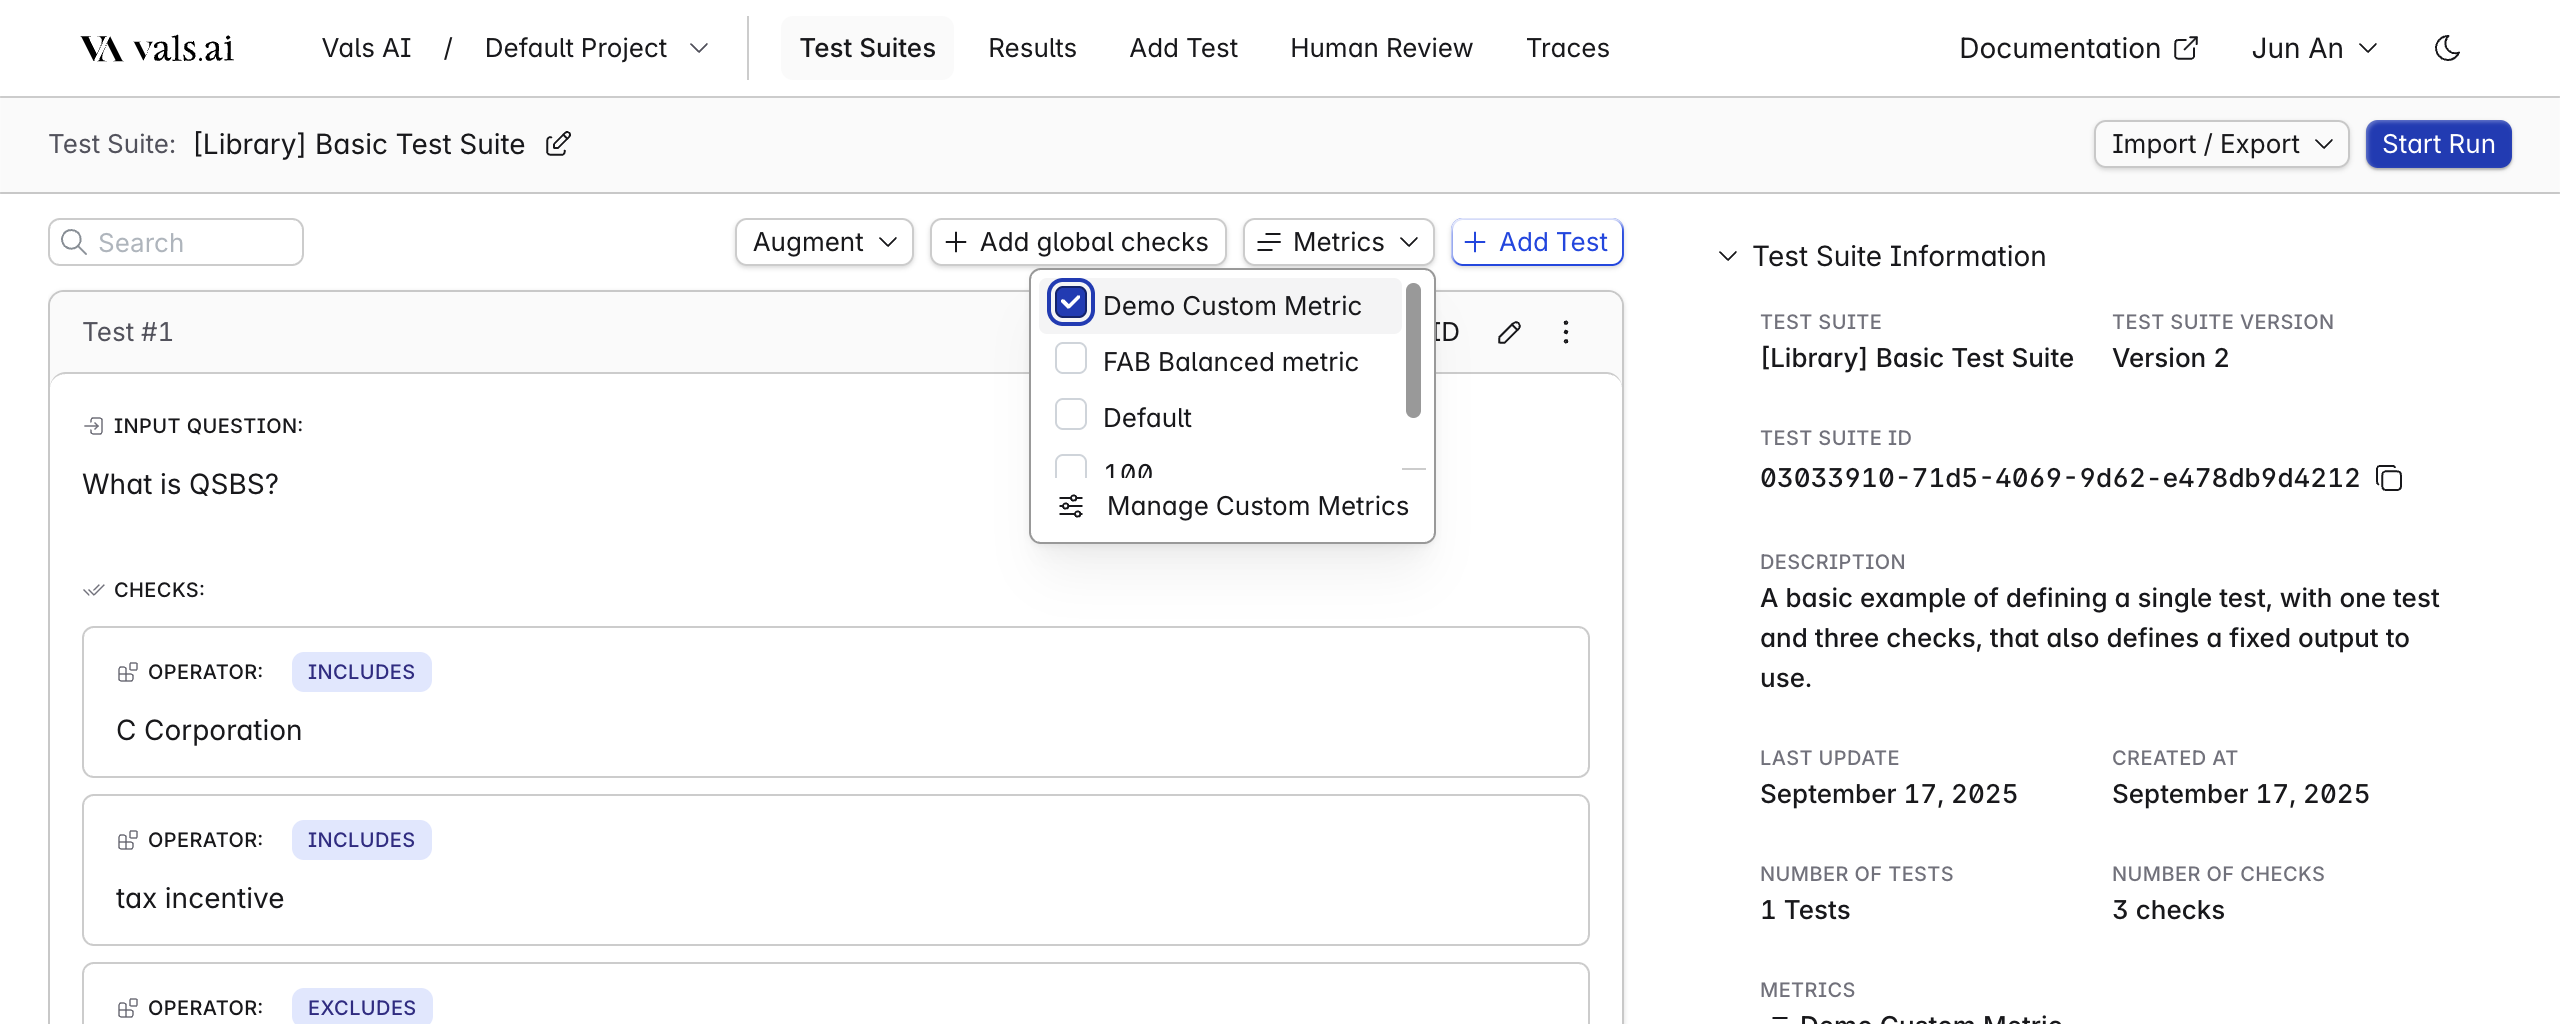
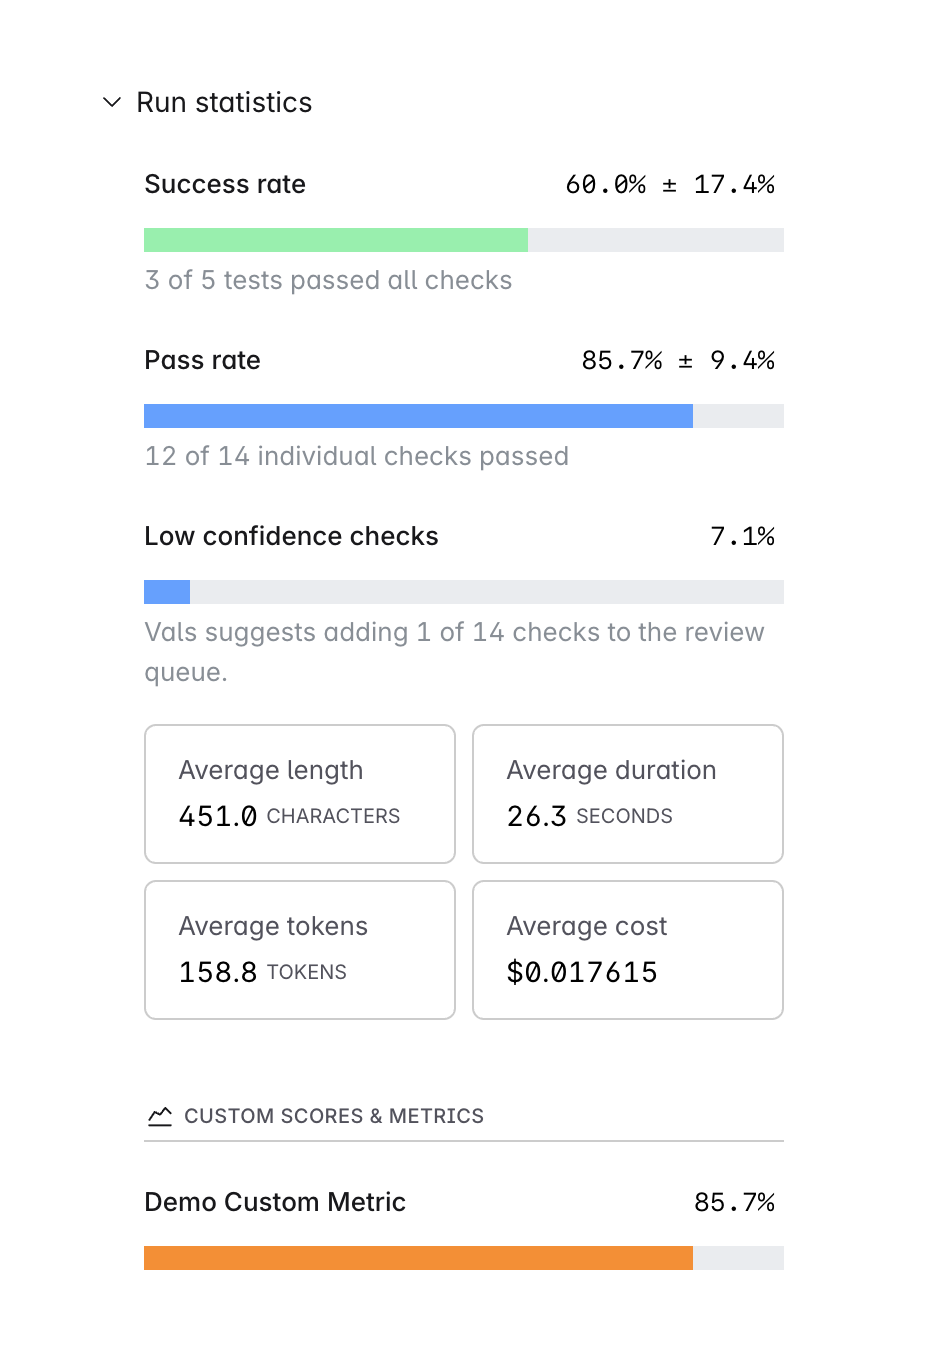
Updating past runs
When updating a custom metric, you can choose to apply the changes to all previous runs that used this metric. If selected, the system will re-run the updated metric on those past runs and recalculate the pass rate for each, displaying the revised results.